Understanding and correctly configuring file permissions in WordPress is crucial for maintaining the security and integrity of your website. This simple guide will walk you through the main steps to adjust WordPress file permissions using SSH (Secure Shell). By following these steps, you can secure your WordPress installation effectively.
Step 1: SSH into Your Server
To start, open your terminal and execute the following command, replacing ‘username’ with your server username and ‘host’ with your server’s public IP address:
ssh username@host -p 22Make sure to replace 22 with the correct port for you SSH, if necessary.
Step 2: Navigate to the WordPress Folder
Upon a successful connection, you’ll enter the root directory of your website. Use the ‘cd’ command to navigate to your WordPress installation directory. For instance:
cd /path/to/your/wordpressStep 3: Adjust File and Folder Permissions
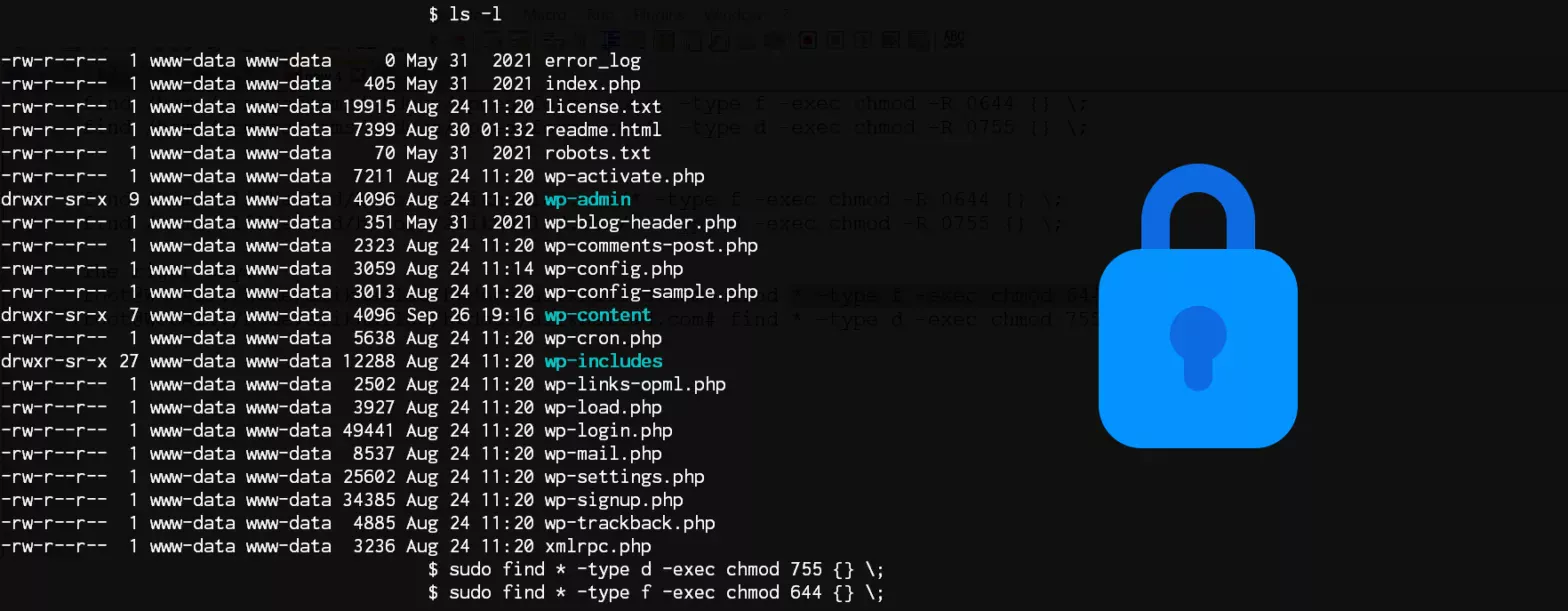
It is recommended to set file permissions to 644 and directories to 755. While many recommend setting wp-config.php to 444, it is may result in potential plugin conflicts or other issues.
To set the recommended WordPress file permissions, use the ‘chmod‘ command. The following commands will set the correct permissions for files and directories:
sudo find * -type f -exec chmod 644 {} \;
sudo find * -type d -exec chmod 755 {} \;
These commands will recursively apply the specified permissions to all files and directories within your WordPress installation.
That’s it, by following the steps above and keeping security in mind, you can ensure your WordPress site remains both functional and protected.