Are you looking to simplify your web development workflow? Well, you’re in the right place! I’m going to share steps to integrate Tailwind CSS with Grunt, a popular JavaScript task runner. This combo is a game-changer, especially if you love Tailwind’s utility-first approach but want to automate the repetitive tasks in your development process.
Let’s Get Started!
First things first, ensure you have Node.js and npm installed on your machine. This setup is fundamental as we’re going to use npm to manage our project’s dependencies.
Setting the Stage
Create a new project directory and initialize your Node.js project:
mkdir my-awesome-project
cd my-awesome-project
npm init -y
If you have an existing project with a package.js file, you can skip this step.
Installing Dependencies
Now, let’s add Grunt and Tailwind CSS to our project. Run:
npm install grunt @lodder/grunt-postcss tailwindcss autoprefixer --save-dev
This command installs Grunt along with the PostCSS plugin, Tailwind CSS, and Autoprefixer. These are our main characters for this setup.
Building the Gruntfile
Here’s where the real magic happens. Create a Gruntfile.js in the root of your project and paste the following:
module.exports = function (grunt) {
grunt.initConfig({
pkg: grunt.file.readJSON('package.json'),
dirs: {
srcCSS: 'src/css', // Your CSS source directory
destCSS: 'dist/css', // Your destination for compiled CSS
},
postcss: {
options: {
processors: [
require('tailwindcss'),
require('autoprefixer')
]
},
dist: {
src: '<%= dirs.srcCSS %>/style.css',
dest: '<%= dirs.destCSS %>/style.min.css'
}
},
watch: {
css: {
files: ['<%= dirs.srcCSS %>/**/*.css', './**/*.html'],
tasks: ['postcss']
},
},
});
grunt.loadNpmTasks('@lodder/grunt-postcss');
grunt.loadNpmTasks('grunt-contrib-watch');
grunt.registerTask('default', ['postcss']);
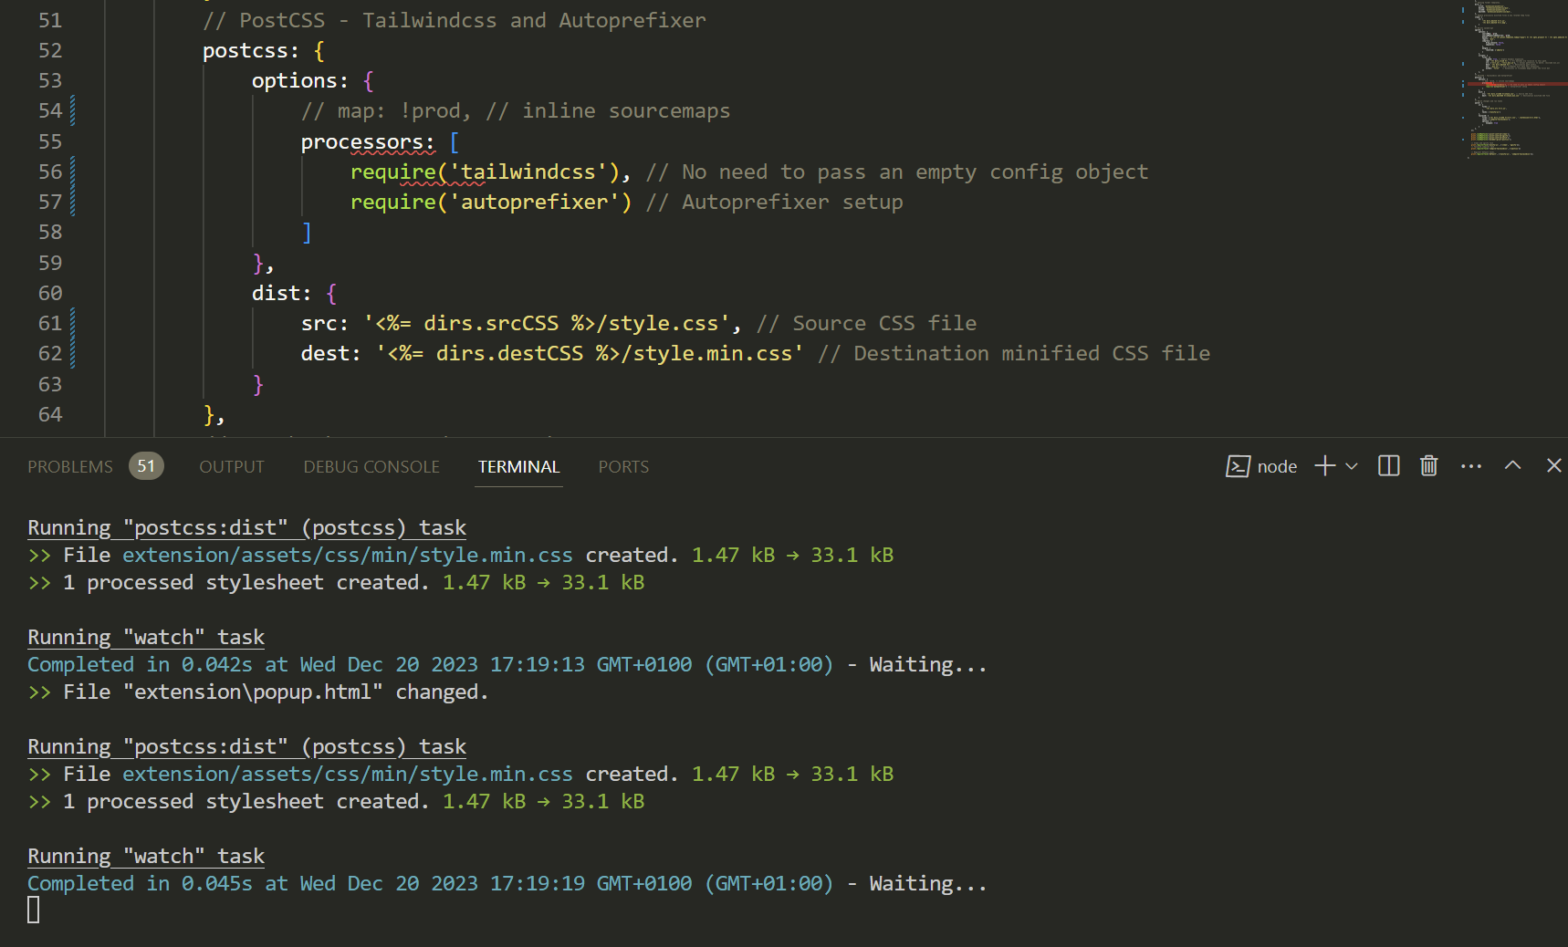
};Don’t forget to adjust the file paths according to your project structure. And remember, the watch task isn’t just for CSS; it’s also keeping an eye on your template files.
Tailwind Configuration
Create a tailwind.config.js file. This is where you’ll define your Tailwind CSS settings:
module.exports = {
    content: ["./src/**/*.{html,js}"],
  theme: {
    extend: {},
  },
  plugins: [],
}
Replace the content with paths to all of your template files.
Running the Show
In your package.json, add these scripts:
"scripts": {
  "watch": "grunt watch",
  "build": "grunt"
}
Now, to compile your CSS with a simple command:
npm run buildOr to keep an eye on changes:
npm run watchNote: If you don’t want to add these scripts, you can just run grunt and grunt watch directly in the command line, they’ll have the same effect.
In Conclusion
Remember, every project is unique, so don’t hesitate to adjust this setup to better suit your needs. Happy coding, and I hope this tutorial makes your web development journey a bit smoother!